Note

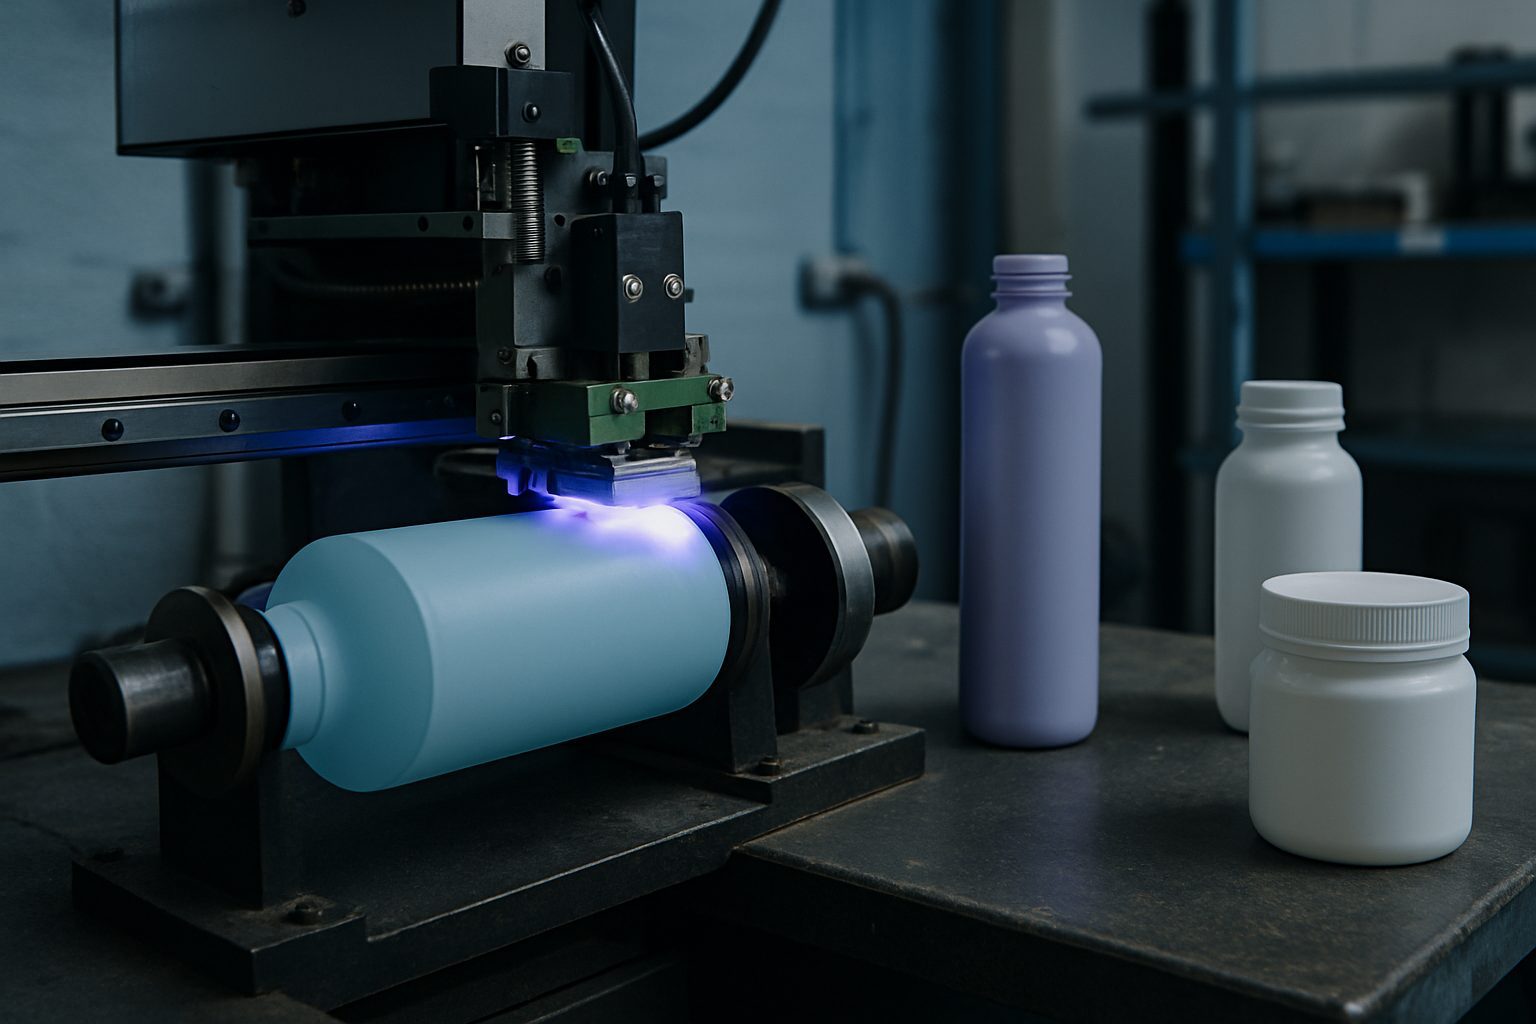
Sleeves and UV on one pack

When shrink sleeves and UV graphics meet on one bottle, the SleeveAlign Assist method brings order. Here we cover who should use it, who should not, and what to prepare.

Keep exploring

Use Cases · Systems · Contact us.

Seams fight art

Camera assist keeps registration honest.

Recipe per SKU

Store seam detect settings with the UV recipe.

Juice and cold brew

Both formats mix sleeves and printed panels often.

What combining sleeves and UV means for your pack

Some products need both shrink sleeves and direct UV bottle printing, either for technical reasons or brand detail. Think of a craft gin with a tamper-evident safety sleeve and a UV-printed front label, or a skincare brand wanting both a wrap and fine print. In South Africa, this comes up in Pretoria, East London, and Cape Town, especially when a team wants factory-grade branding resilience and no smudging during shelf handling.

If your brand changes artwork often, or needs to combine existing sleeve stock with new UV-printed batches, this approach keeps you agile. It’s important to remember not every shape or order size warrants the extra steps. We see the best results when the decoration method fits the physical pack movement and the way your operators handle each run.

Who this method suits and who should avoid it

SleeveAlign Assist works best for teams responsible for both line efficiency and brand detail. Sign rooms at big beverage plants, promo lines in Durban, and medium-size skincare producers in Gqeberha use it when they need precise, scuff-resistant branding on packs that face rough transit. It helps bottle decorators briefing internal or external crews who want to avoid last-minute calls and rushed fees.

This method is less useful for micro-runs or when working with highly irregular shapes that sleeves or UV systems cannot reach evenly. If your project is strictly labels or the volume is below a few hundred units, separate processes might save headache and cost.

How SleeveAlign Assist works in practice

A practical workflow prevents confusion, especially when sleeves and UV print overlap or butt up against each other. We always start with a single-page brief listing the process constraint, like bottle access, planned power cuts, or who signs off at your depot. For UV bottle decoration, access and timing are as important as the digital artwork itself. If the access window is tight or power is unreliable (classic Gauteng load-shedding), we build a sensible plan with your operators.

After the brief, we match the correct sequence to your floor. First, sleeves go on, then bottles move to the UV station, or vice versa if the artwork demands. The on-site owner walks the process with us to spot trouble before it costs money. At the end, we write a simple close-out note, so the next shift can see what was done and what to watch for. It sounds basic, but it prevents most of the usual pain points. If you want examples, see our related use-cases or browse projects that show Sleeves and UV working together.
Worked example: Craft spirit line in East London

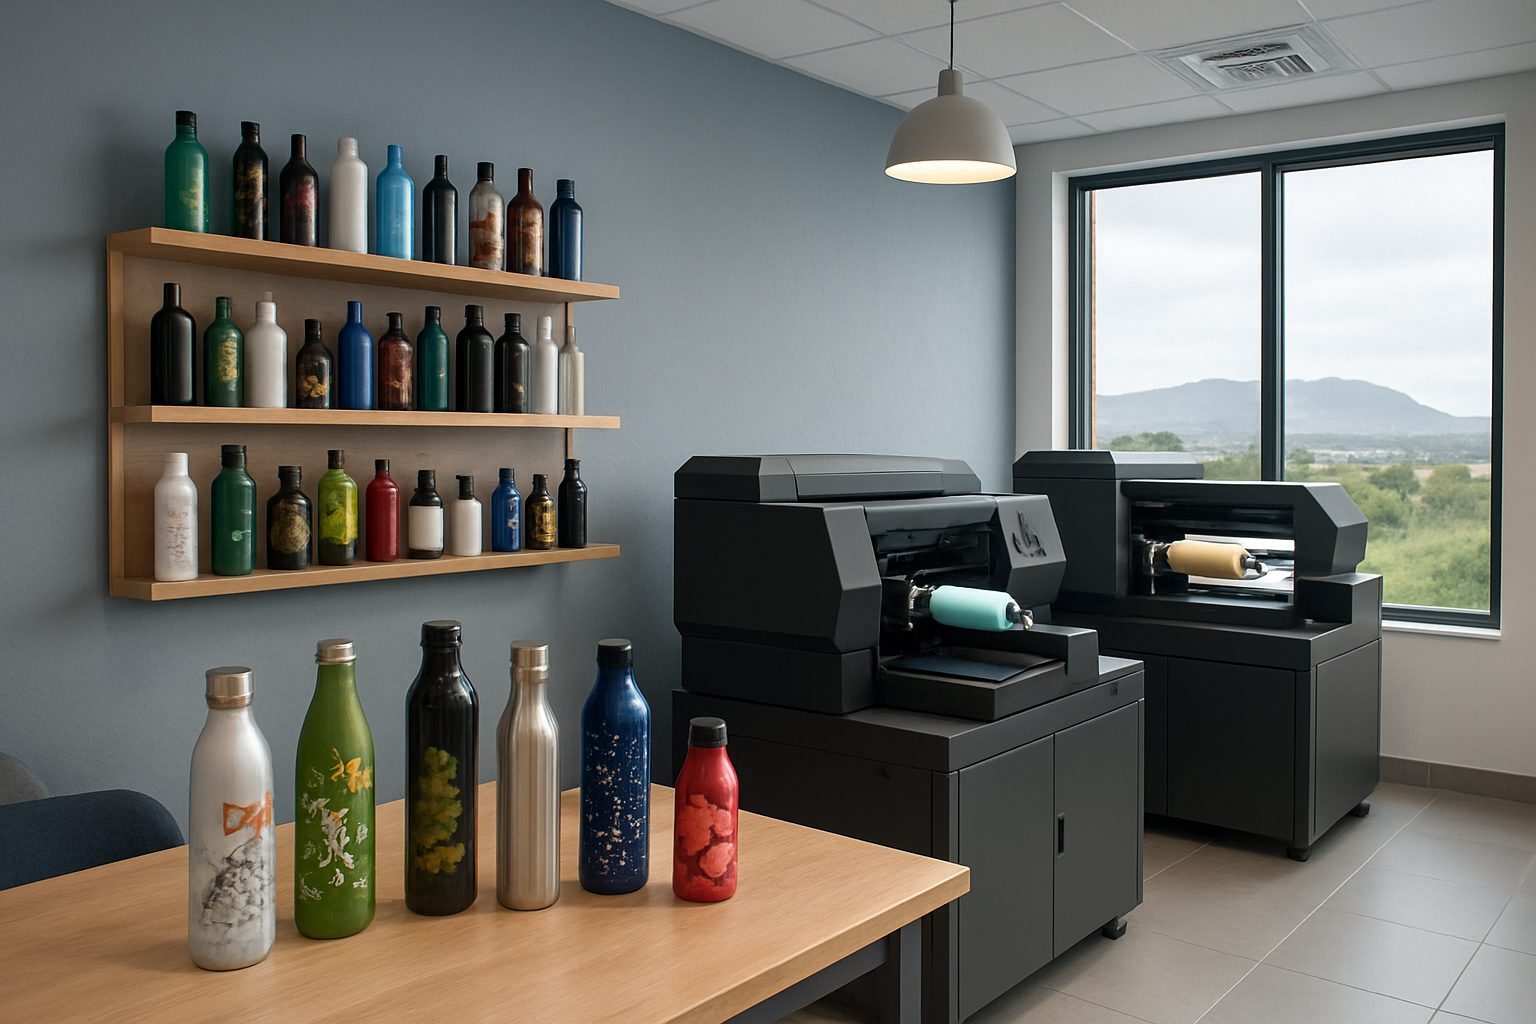
A spirits producer in East London needed a safety sleeve, plus UV-printed batch codes and a brand motif on glass. After a messy first attempt (the artwork shifted at the sleeve tunnel), we adjusted the process: first, sleeves were shrunk, then bottles rested to normalise temperature before moving to the UV bench. The operator checked registration marks and alignment after every 20 units. By the end of the shift, the line ran at regular speed, and the packs survived a quick drop test. Photos and simple notes from that job now guide the producer’s next seasonal run.

We keep internal notes from each job, date, constraint, and one fix, so when you brief us with two photos and your timing window, we can flag issues before they repeat. If you have a drawing set, screenshot or even a marked-up photo, send it through our contact form. It doesn’t have to be perfect; just send what you have.

What to prepare before you email us

To get useful advice fast, send us a clear, honest brief. For new combinations or if it’s your first time, the following checklist covers the basics. This helps us get answers back before your next batch arrives, especially when you’re juggling load-shedding or last-minute delivery windows.

Avoiding common pitfalls

From our experience, the biggest mistake is not writing down the main physical or timing constraint before choosing finishes or fixtures. That leads to rush fees, second visits, or avoidable mess-ups, especially if the workflow gets fuzzy and the sign-off person is not on site. Make sure your crew knows the steps in order, and always have a fallback if power blips.

Talk to BottlePrinter Lab

Our contact form · Sunnyrock applications lab