Here we list detailed CureCheck Lab specifications, fit notes and practical points for South African operators. Check dimensions, site constraints and best practice before you brief.
Use Cases · Notes · Contact us.
| Meter | UV radiometer kit |
|---|---|
| Log | CSV / PDF |
| Coupons | Glass + PET |
| Storage | Lab rack |
| Support | Showroom demos |
Use our contact form for a tailored footprint.
CureCheck Lab runs physical UV cure checks and small-run bottle decoration QC, fitting into sign and print rooms that handle in-house control or support craft runs up to several hundred units per shift. These systems match bottle sample programmes, short-run SKUs, and daily quality spot checks before loading out to trade or retail. Most Gauteng and coastal sites run CureCheck Lab to separate sampling from main production, stopping rework late in the process.
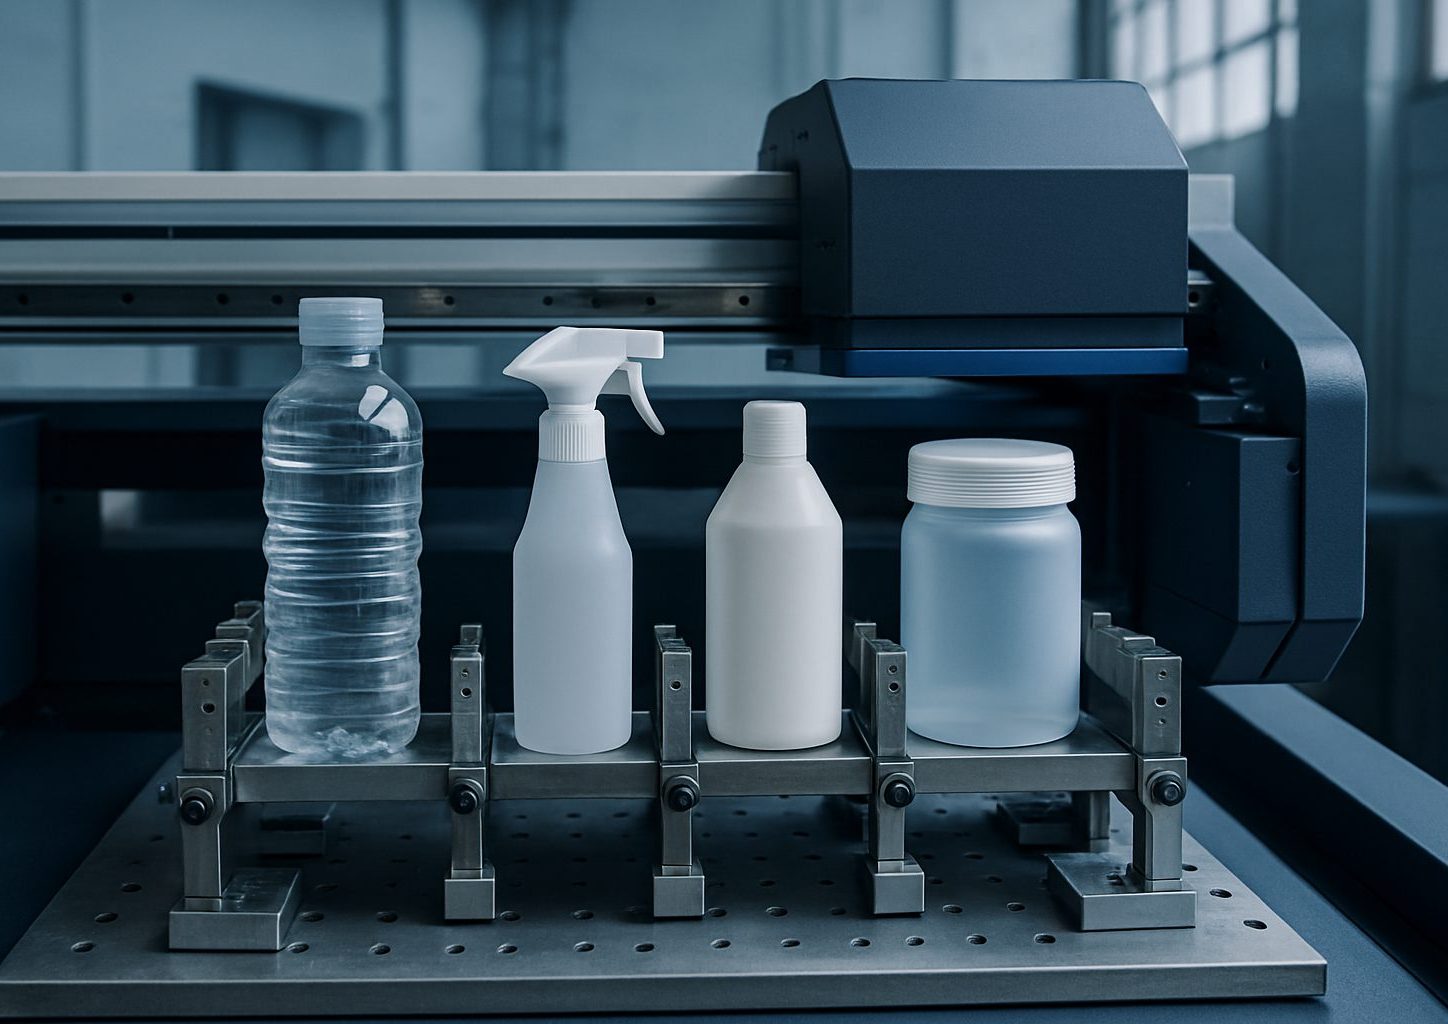
The kit suits operators who run a mix of shapes, including glass, PET and aluminium bottles or jars. Most fixtures are quick-change, so a Durban promo plant and a Gqeberha contract fill line can both fit trial runs without swapping equipment. If your floor only sees bulk runs or has single-SKU automation, this is usually overkill.
We list specs as they are set up for most South African industrial parks, including 230 V single-phase and three-phase variants. CureCheck Lab sits on a bench or a low trolley, with footprint options from 900 mm by 600 mm up to 1200 mm by 750 mm, depending on the fixture plate and shield. Empty weight ranges from 48 to 67 kg, with full fixture load adding up to 10 kg. Ambient range: 12°C to 32°C. Relative humidity: under 80%, non-condensing. Airflow is fan-driven, with clean-out every 80 hours if you see Highveld dust or coastal salt. Fit check: leave 500 mm extra on working sides for bottle swap and fixture access.
Transport between Pretoria, Durban or East London usually means box straps and pallet runners, as couriers will not hand-load. If your site is up a split-level or has no bay, advise at first email, so we prep for manual step carry.
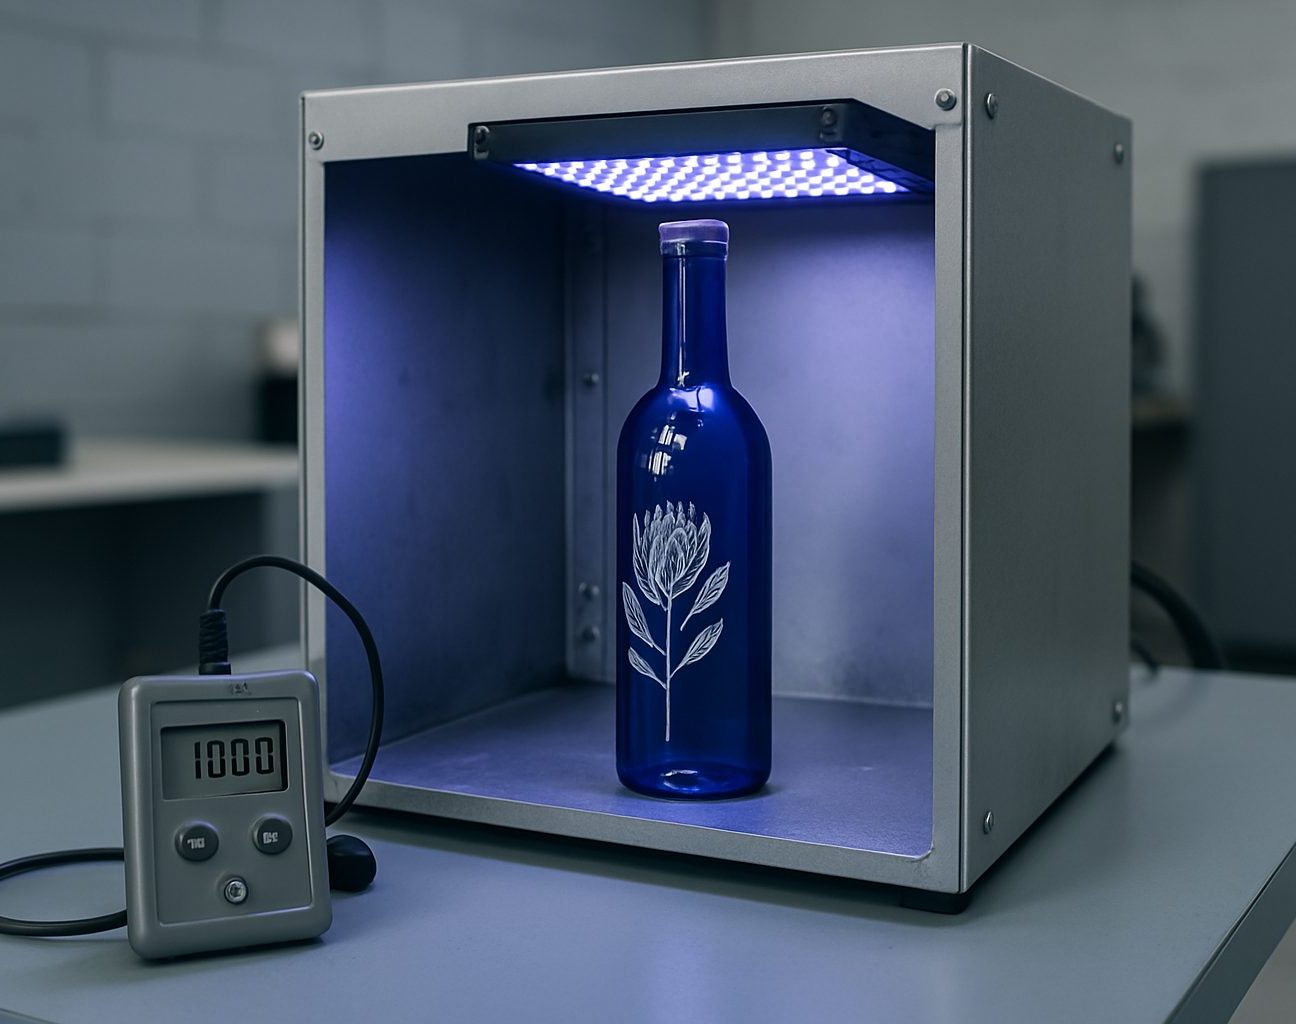
Most teams use CureCheck Lab to confirm UV cure at print, after finishing but before boxing or shrink-wrapping. Place up to six bottles at a time in the fixture, lock the shield, set the programme, and start the cycle. Each batch runs for 2 to 8 minutes depending on ink, bottle colour, and coating. Operators use the included CureCheck swabs to test print durability. If a bottle fails, the operator logs the time and fixture, then resets the line for a re-print or recoating. In practice, one operator can run 20 to 30 test cycles a morning without rushing, even if municipal power is unstable for an hour.
A Durban contract bottler ran CureCheck Lab for spot checks on a 300-bottle gin batch after a spring cold front interrupted curing. The operator caught six under-cured units, logged positions, and pulled them for touch-up before the owner signed off the batch for trade.
CureCheck Lab is not built for continuous large-scale print rooms, automated filling lines, or sites running only labelled glass. If you only need basic spot checks once per month, a simpler hand tool usually does the job for less. Teams who want hands-off sampling or automatic failure reporting may prefer integrated QC systems on their main line. The fixture set on CureCheck Lab is practical, not flashy: it suits operators willing to adjust for each bottle, not high-speed lines.
If your site works with irregular shapes or extreme bottle heights, check CureCheck Lab fixtures & accessories before ordering. Some setups will need a custom fixture or shield, which may push timing out by a week or more.
Email everything through our contact form. If you are in doubt about a fixture or site fit, mention it in your first mail. We often have feedback from similar Gauteng, Cape or Eastern Cape clients. A clear brief shuts down most common mistakes. A short note on what failed last time saves everyone time and cost, so send what you know.
The most common miss is not writing down the main constraint before picking a finish or ink. Rushing this step can mean penalties for urgent swaps or extra site visits. Another pitfall is underestimating space: teams sometimes lose access to the operator side, or skimp on the 500 mm clearance, which slows bottle swaps and dry-downs. Teams working in coastal humidity should clean fans more often and keep an eye on salt build-up near exposed elements.
Timing slips when the sign-off window is too tight for fixture or shield changes. If more than one manager is signing off, agree on timing early and email us if there is a municipal or power supply risk (such as winter load-shedding). For unusual bottle sizes, flag this in your first contact so we can check the fixture set in advance, or point you to compatible CureCheck Lab fixtures & accessories.
Verified Google reviews
Our contact form · Sunnyrock applications lab