Note

Adhesion tests to run before a bottle launch

Before any decorated bottle launch, we run easy but serious adhesion checks on real production samples. This helps spot issues that show up later in Gauteng heat or under Cape Town’s market coolers.

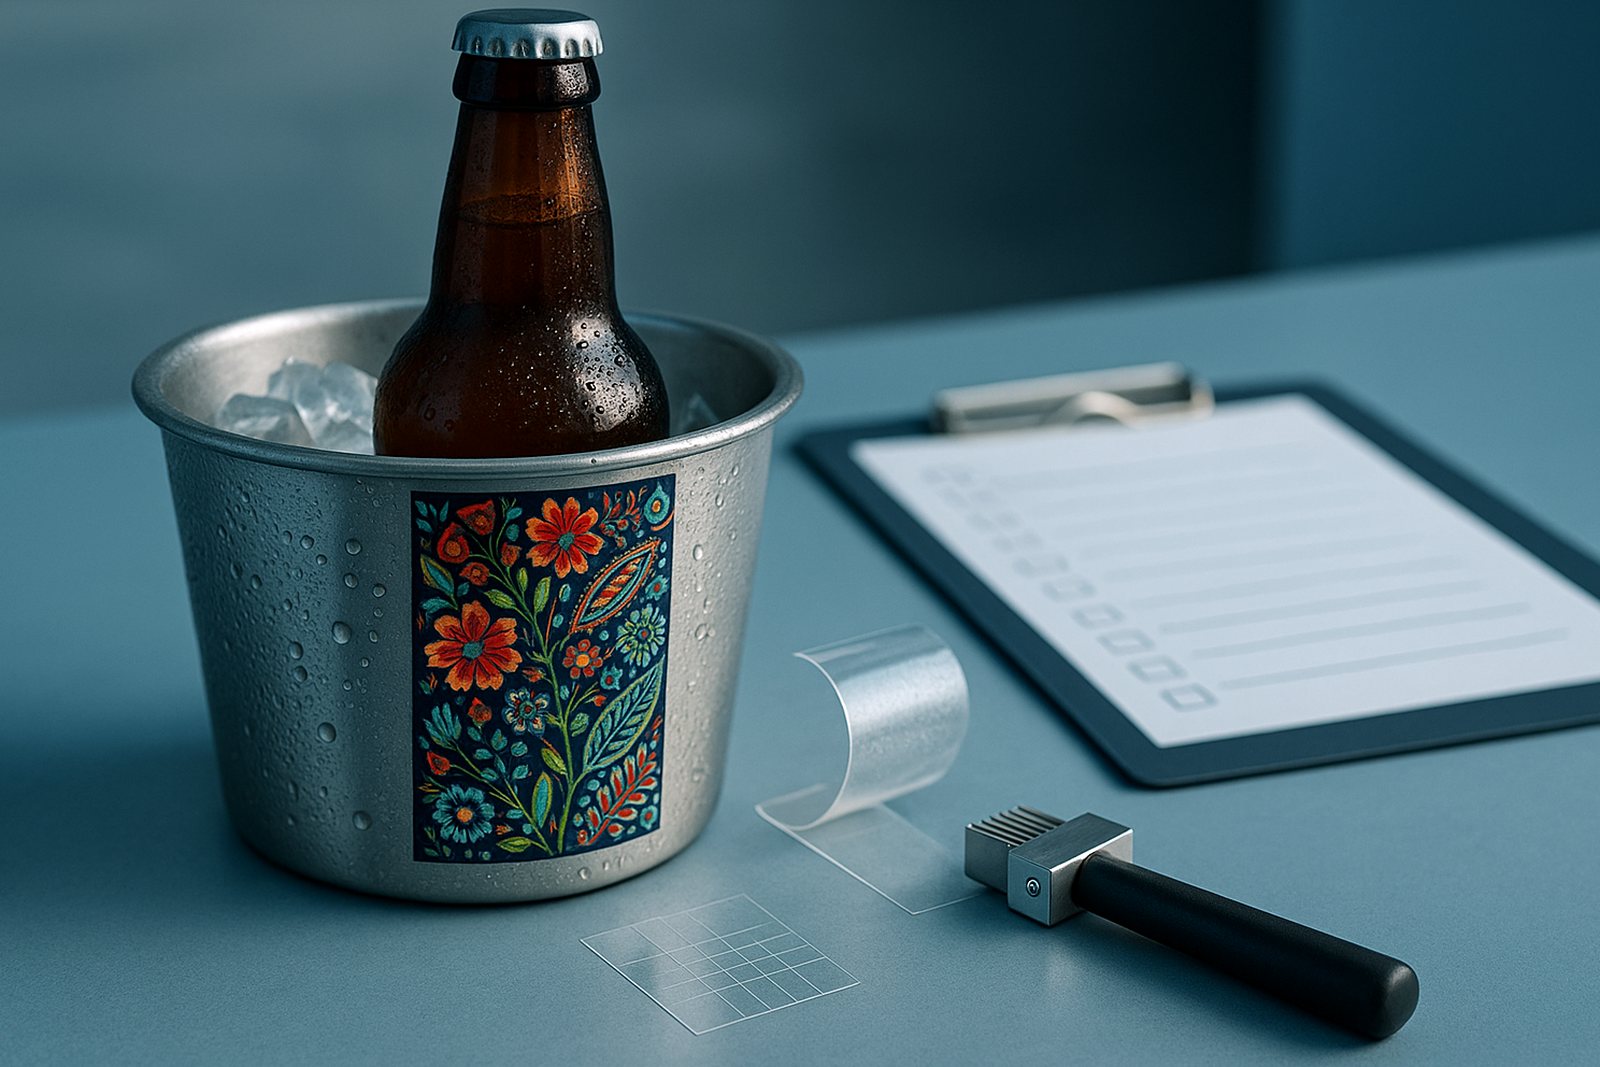
Glass bottle chilling in a printed ice bucket beside a peeled adhesion test tape strip, a scored grid and a cross-hatch cutter

The tape test, done properly

  • Clean squares on the bottle, nothing on the tape: you are in good shape.
  • Small flakes at the cut edges: usually acceptable for promo and short-life stock, worth noting on the cure log.
  • Whole squares lifting: stop and check primer, lamp output and surface treatment before you print another case.

Write it down, every time

Keep exploring

More notes · Craft beverage · UV bottle FAQ · Contact us

Why adhesion testing matters before a launch

Decorated bottles look fine fresh off the line, but what counts is how the print holds up through packing, transit and shelf-handling. Most jobs we get called to fix had perfect print on day one, but fell apart after bouncing up the N3 in a truck or sweating through a weekend market in Stellenbosch. Before any new label or finish goes out, we test decorated bottles for adhesion, so you do not get surprises from a batch that looked perfect in the bay.

These are production-floor tests, not lab tricks. If you are running bottles for craft gin, skincare, or promo packs, you want decoration that survives ice water, handling and local humidity swings. This is key for anyone using UV decoration systems, no matter if you have a full print room or send short runs to a partner studio.

Who needs this, and who should skip the step

If your bottles are heading out to stores, pop-up markets, or roadshows, run adhesion tests on actual production pieces before anyone signs off the batch. This suits small estate runs, Durban beverage launches, Bloemfontein promo lines, and any operation where your print room handles real-world South African conditions.

If you are only running display samples, and the bottles will never leave the boardroom, you may not need the full test routine. The process also does not suit lines using only shrink sleeves or direct-to-glass etching. For UV ink on glass, PET or aluminium, adhesion checks catch 95% of failures early.

How the tests work on a real production run

Pull at least six bottles from a proper production run, two from the start, two from the middle, two from the end of the shift. Print conditions drift as the floor warms up or lamps age. Let bottles stand for 24 hours after printing, as adhesion keeps improving off the lamp, especially on glass with primer. Testing too soon gives harsh results, but waiting a week can hide problems you want to solve now.

Start with the tape test. Score a small grid right through the print to the substrate using a cross-hatch cutter. Press standard tape firmly over the grid, wait a minute, then rip it off quickly at a sharp angle. Check for flakes or lifted squares under good light. Clean squares with nothing on the tape mean good adhesion. Small flakes at the cut edges are usually fine for promo runs, note it in your cure log. Whole squares lifting means you must check your primer, lamp output or bottle surface treatment before the next shift.

Next, run rub and chill tests. Rub an area with a standard cloth using elbow grease, ten firm strokes is enough. For the chill test, dunk the bottle in an ice bucket, then move it to a fridge for at least half an hour. Condensation and temperature swings expose weak points. If you see print lifting, address it before the next batch. These steps catch issues that pop up when bottles leave Gauteng for the coast or sit in a cold trailer overnight.
A production-floor example

A distillery in Gqeberha pulled six gin bottles from a late-afternoon run. After 24 hours rest, the operator cut small grids in the shoulder print, pressed tape, and ripped it off. One neck had flakes, but the body print stayed put. They noted the edge flaking, then dunked another bottle in iced water, followed by a fridge stint. All survived except for one with poor primer coverage, flagged for the next order. They sent us photos and test notes, and we helped tweak their primer station. That batch now ships safely to humid Durban and dry Bloemfontein without complaints.

You can read more about UV ink on different materials in aluminium bottles in the lab or explore print challenges with amber glass and UV ink.

Checklist: What to prepare before emailing us

You will get clearer answers if you include hands-on details in your query. Before you send a message through our contact form for support or advice, have these basics ready from your last adhesion test. This helps us give real help, pronto.

Common pitfalls and how to avoid them

The three most common mistakes are: only testing early-run bottles, rushing tests before adhesion stabilises, and making grids too big or too close to curved surfaces. Always pull bottles from across the shift, let them rest 24 hours, and if testing curved areas, keep the tape grid small so the tape sits flat.

Do not skip chill and rub tests if the stock is heading into coolers, coastal containers or overland trucks. Use standard packing tape, not masking or branded tape. And do not throw out bottles after a failed test, use them to compare after you fix process settings. If you want more background on changeover or sample methods, see changeover discipline on MiniLine or browse our Notes for tips from the floor.

Talk to BottlePrinter Lab

Our contact form · Sunnyrock applications lab